Difference between revisions of "Reel Tapes"
(→The Reel to MONA Connection) |
(→The Setup) |
||
| Line 49: | Line 49: | ||
Plug the other end into channels 3 & 4 of the ECHO MONA. | Plug the other end into channels 3 & 4 of the ECHO MONA. | ||
[[Image:Reel-Mona-Cables34.jpg]] | [[Image:Reel-Mona-Cables34.jpg]] | ||
| + | |||
| + | |||
| + | === Setting up the Reel Recorder === | ||
| + | |||
| + | ==== Mounting the Reels ==== | ||
| + | |||
| + | * Mount an empty reel onto the right hand (take-up) reel table. The 3 teeth on the reel spindle must line up with the reel drive nail in order to mount the reel. If they are misaligned, you can pull out the spindle and turn it to align it. When the tape is mounted, pull out the spindle and turn it so that the teeth no longer align. This will lock the reel into place on the recorder. | ||
| + | |||
| + | * Mount the reel you wish to digitize on the left-hand (supply) reel table. Follow the same procedure as above. | ||
| + | |||
| + | ==== Threading the Tape ==== | ||
| + | There are detailed instructions on page 4-6 of the manual for the reel recorder. | ||
| + | |||
| + | * Thread the tape as is shown in the following picture. | ||
| + | |||
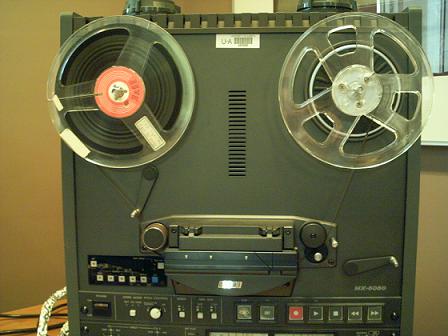
| + | * Wind the tape onto the empty reel just enough to keep it in place. Here's what it should look like when you're done. | ||
| + | [[Image:Reel-TapeLoaded.jpg]] | ||
| + | [[ | ||
Revision as of 16:51, 19 September 2006
Contents
Things you'll need to digitize reel tapes:
The Basic Requirements
- A Mac G4
- The Echo Mona analog to digital audio converter--the one at the top of the picture.
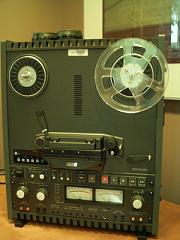
- A Reel Tape Recorder/Player
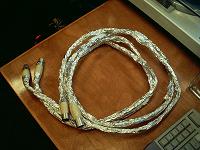
- 2 Shielded XLR microphone cables
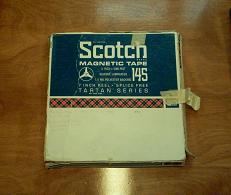
- Reels!
Sound Monitoring via External Speakers
- The Mixer
- 2 speakers
- A stereo RCA cable
- 2 XLR stereo cables
- Stereo 1/8 inch mini jack to dual RCA cable.
- 2 RCA to 1/4 inch jack adapters
The Setup
The Audio Editing Station
This station should be set up already, but if it's not, here's what needs to be connected & where.
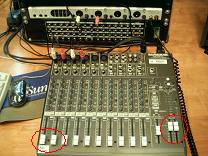
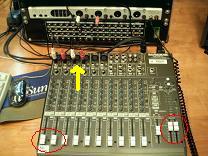
- Plug the Stereo 1/8 inch mini jack into the headphones jack of the G4. Connect the dual RCA (red & white usually) ends to the 2 adapters and plug the Red end into channel 4 and the other end into channel 3 on the mixer. Remember, Red is Right. In the following picture, the yellow arrow points to channels 3 & 4.
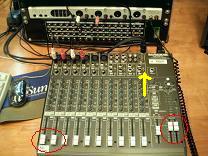
- Plug one end of each XLR stereo cable into the L or R jacks in the "Main Out" section of the mixer (top right and corner). Plug the other end into the respective speaker.
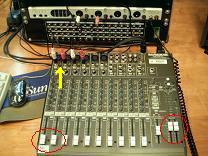
- Plug one end of the stereo RCA cable into channels 1 and 2 on the mixer. Channel 2 is right and channel 1 is left. Plug the other end into outputs 1 & 2 on the back of the MONA. Output 1 is left and output 2 is right.
- Plug everything in and turn it on.
Now you're set up to hear sound from your computer and from the MONA on the external speakers!
The Reel to MONA Connection
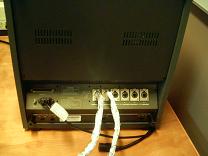
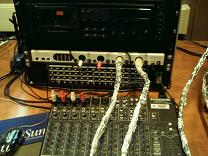
- Take the 2 shieled XLR microphone cables and plug one end of each into the back of the Reel Recorder.
Plug the other end into channels 3 & 4 of the ECHO MONA.
Setting up the Reel Recorder
Mounting the Reels
- Mount an empty reel onto the right hand (take-up) reel table. The 3 teeth on the reel spindle must line up with the reel drive nail in order to mount the reel. If they are misaligned, you can pull out the spindle and turn it to align it. When the tape is mounted, pull out the spindle and turn it so that the teeth no longer align. This will lock the reel into place on the recorder.
- Mount the reel you wish to digitize on the left-hand (supply) reel table. Follow the same procedure as above.
Threading the Tape
There are detailed instructions on page 4-6 of the manual for the reel recorder.
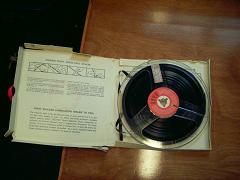
- Thread the tape as is shown in the following picture.
- Wind the tape onto the empty reel just enough to keep it in place. Here's what it should look like when you're done.
