With the MONA
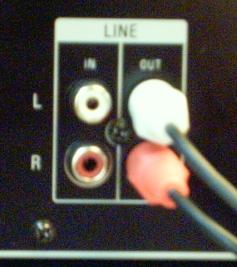
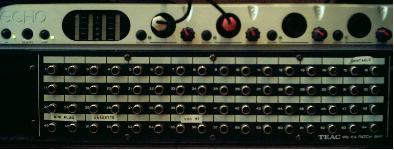
1. Connect Sony WA7ESA cassette player to MONA 24/96 ECHO from L & R outputs on back to Channel 1 & 2 inputs on front of MONA.
2. Turn on the equipment. Then turn on the computer.
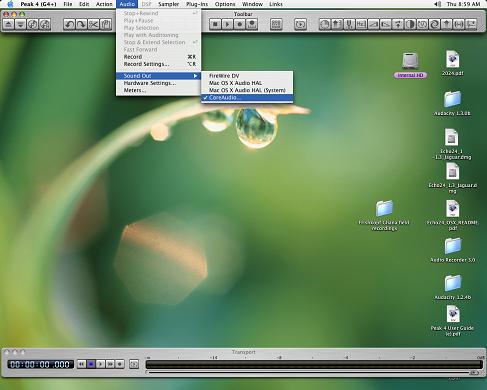
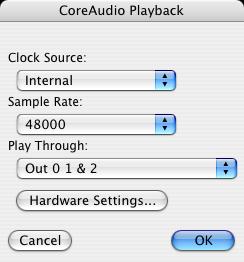
3. Open Peak. Click on Audio menu>Sound Out>Core Audio. A CoreAudio Playback window will open.
The settings should be as follows: Clock Source: Internal; Sample Rate: 48000; Play Through: Out 0 1 & 2. Click OK.
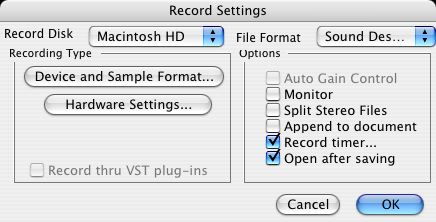
4. Click on the Record Settings button on the Toolbar.
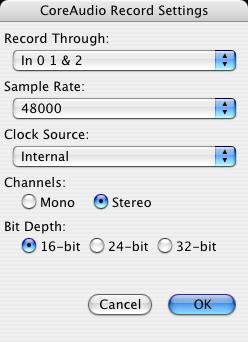
Click on Device and Sample Format.
The settings should be as follows: Record through: In 0 1 &2; Sample Rate 48000; Clock Source: Internal; Channels: Stereo; Bit Depth: 16-bit. Click ok.
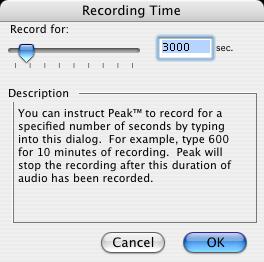
Record Disk should be Internal HD. File Format should be Sound Designer II. Under options the following should be checked: Open after Saving, Record timer (which you can specify in seconds). If Record timer is checked already, uncheck it and recheck it to be sure the time is long enough for what you need for the digitization. Click OK.
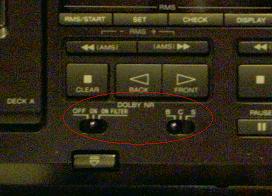
5. For all cassettes: check the noise reduction settings that were used during recording. If Dolby B, C or S was used, turn on NR to that setting on the tape deck: Set Dolby NR to ON and select the same position the tape was recorded in (B, C or S). If DBX or another NR was used, leave the NR off during playback.
6. Check levels carefully; adjust amplifier to boost signal if necessary.
7. Fast forward the tape to the end of the side and rewind it to the beginning of the side. Press the record button on the toolbar. Press the Record button on the Record window and press play on the cassette deck.
8. Listen to digitization while it is in process.
9. When the side finishes playing, press stop on the Record window of Peak. A Save As window will open. Enter the filename. Click SAVE. The file will save and open. Click on File>Save As and when the window opens, leave the file name the same, but change the file type to WAVE. Click SAVE. You will be prompted to replace a file of the same name that already exists. Click SAVE.
10. Listen to snippets of all areas of the file, to ensure the digitized copy is true to the source.
11. Record relevant information regarding the digitization on the relevant spreadsheet.
